Controlling Exposure in High Contrast Scenes
Updated 6th January 2023
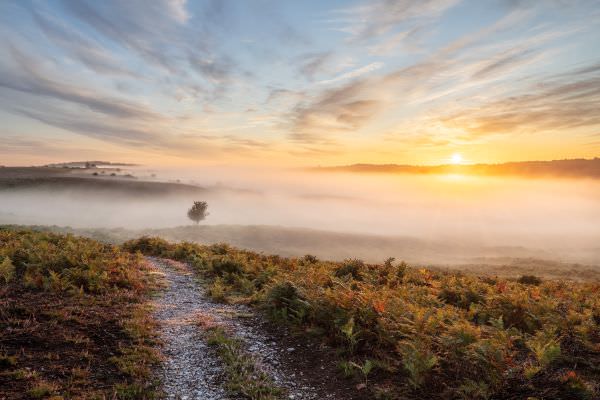
In the days when I was working with colour transparency film I had to use graduated neutral density filters to help control the contrast in many of my landscape images, as the film I used simply wasn't capable of recording detail in both shadows and very bright highlights unaided. The same is true of digital sensors in that they still don't have the necessary dynamic range to capture the full tonal range and colours of many high contrast landscape scenes. However, from the day I bought my very first digital camera body in 2003 I never used graduated filters again. Instead I prefer to shoot a series of different exposures to capture the full range of tones in the scene and then use software to blend them into a single file. In the past I used the rather laborious method of blending the images using layers and masks in Adobe Photoshop, but these days I much prefer to use the excellent 'merge to HDR' function in Adobe Lightroom, which is both faster and produces a better result in most cases.

In order to use this technique you'll need to set your camera up to shoot a bracketed set of exposures. This is the method I use.
As I always shoot in manual exposure mode it's easy to determine how many exposures are necessary to capture the full range of tones in a scene simply by viewing the live histogram. However, there is a trick that makes this even easier if you use a Canon camera body.
- Make sure exposure bracketing is set to -0+ in the menu. This means the sequence will begin with the darkest exposure for the brightest highlight and finish with the lightest exposure for the darkest shadows. *
- Set your bracketing sequence to 3, 5 or 7 shots, depending upon the amount of contrast in the scene. **
- Set bracketing to 1 1/3 stop increments. ***
- Turn on Live View and bring up the live histogram. ****
- Set ISO and the aperture you need for sufficient depth of field.
- Now the clever bit - if you half press the shutter button with your middle finger, Live View (and the live histogram) will show you the resulting exposure for the darkest frame in your sequence with the current exposure settings. With your middle finger still half pressing the shutter button, use your index finger to adjust the shutter speed dial. Take it to the point where there is a decent gap on the right of the histogram. You have now set your darkest exposure in the sequence (to capture the highlights in the scene). *****
- You can now fully press the shutter button. The whole sequence of images will be taken starting with the darkest exposure that you have just set for the highlights. The exposure time will increase in 1 1/3 stop increments for as many frames as you have set.
- Check the final exposure (for the shadows) to ensure sufficient detail (there should be a decent gap on the left of the histogram). If it looks ok then you know you have all the necessary exposures to produce a good exposure blend or HDR image. If the final exposure is too dark you will need to either increase the number of bracketed shots (if possible) or increase the gain between each exposure (to perhaps 1 2/3 stop increments or more).
* This setting will remain held in the menu so you only have to set it the first time.
** I normally leave my camera set to 7 shots and only use the exposures that I need from each sequence.
*** A 7-frame bracket at 1 1/3 stop increments will capture the full dynamic range of any landscape scene with a Canon camera.
**** Most modern Canon DSLRs have a live histogram - repeatedly press the info button until it appears.
***** Works best with the top control dial set to select shutter speed and the rear control dial set to select to aperture (the default on Canon cameras).
I normally have my camera's drive mode set to self timer with 2-second delay. This means that with one full press of the shutter button the whole sequence of images are taken. Alternatively you could use the high speed motor drive in combination with a remote release.
One of the main benefits of this trick is that it speeds up the image making sequence, which is an important consideration if you have fast moving clouds in the sky or rapidly changing lighting conditions By utilising the motor drive your sequence of images is taken very quickly, minimising any movement in the clouds between shots and therefore making it much easier to achieve a good blend without ghosting. I use this technique for all my bracketed sequences as it speeds up my workflow in the field considerably.
When photographing a scene with moving water in the foreground I will blend in the single frame where the water is correctly exposed using layers and masks in Adobe Photoshop. This avoids any strange artefacts in the water caused by blending several images together.
